
Waxing, but not Poetic

Waxing bottles looks bad ass.  I think almost everyone will agree to that.  So, when our homebrew club racked out the Russian Imperial Stout from the Maker's Mark barrel, Eric and I decided to bottle (who needs that on a keggerator?), label, and wax cap our share.  Coming up with a name is post all its own - as is labeling, so I won't talk about that here.  What most people want to know about is how to wax.  I found a very helpful post over on Passion Beer's website and we followed their example.  

I'll walk you through our steps and give you our details.  We were going to wax about 48 bottles.

1.  You need crayons.  We used 12 Crayola crayons.  There were cheaper options, but I decided on quality.  I hear that when school supplies hit in the fall, these 8-packs are about 25 cents.  I ended up paying 79 cents for these.  But now I can do this seven more times.


2.  You need hot glue gun sticks.  I went with the mini sticks because I could get more glue for the price (50 mini-sticks for the same price as 20 regular sticks; and 2 mini sticks have more glue than 1 regular stick.)
3.  You need a tin can.  I went with one of the "Soups that eat like a meal" soup cans.  Rinsed it out well and took the label off.  (More on the can below.)
4.  You need to heat up all the glue and crayons.  We added half the glue sticks and waited for them to melt, then the other half and waited for them to melt, then the crayons, which melted immediately.  As you can see, we put the can straight on the burner.  We started off with the can in a skillet to help diffuse the heat, but that didn't work; the glue wasn't melting.  We also tried a double-boiler kind of deal, but that didn't work either.  Putting the can directly on the burner was the only thing that melted the glue.  I was nervous that it would get too hot, but I never turned the heat to "high."  I kept it just below the highest setting and things finally started to melt.  I used an oven mitt to handle the can and a stick to a broken spatula to stir.
5.  You need to bottles to dip.  Once everything is melted, dip the bottles in the wax, pull out, spin, set right side up, and let it dribble down.  This picture to the left was one of our first attempts.  We did not dip far enough in this example.  I think it probably ended up looking alright once the wax started dripping, but there are much better examples, as you can see below.


So, what would I change?  What would I do again?
Change:
  • The hot glue to crayon ratio:  I felt like the wax was a little thin and my best guess is that it has to do with the amount of hot glue.  In Passion Beer's process, their glue to crayon ratio was closer/more even than ours  (in my little own way of calculating, theirs was about 3:1, ours 9:2).  I like the way their glue covers the caps a bit more and runs.  The crayons add the thickness, but I think too much crayon and the wax would get brittle.  Finding the right ratio is something I would work on for next time.
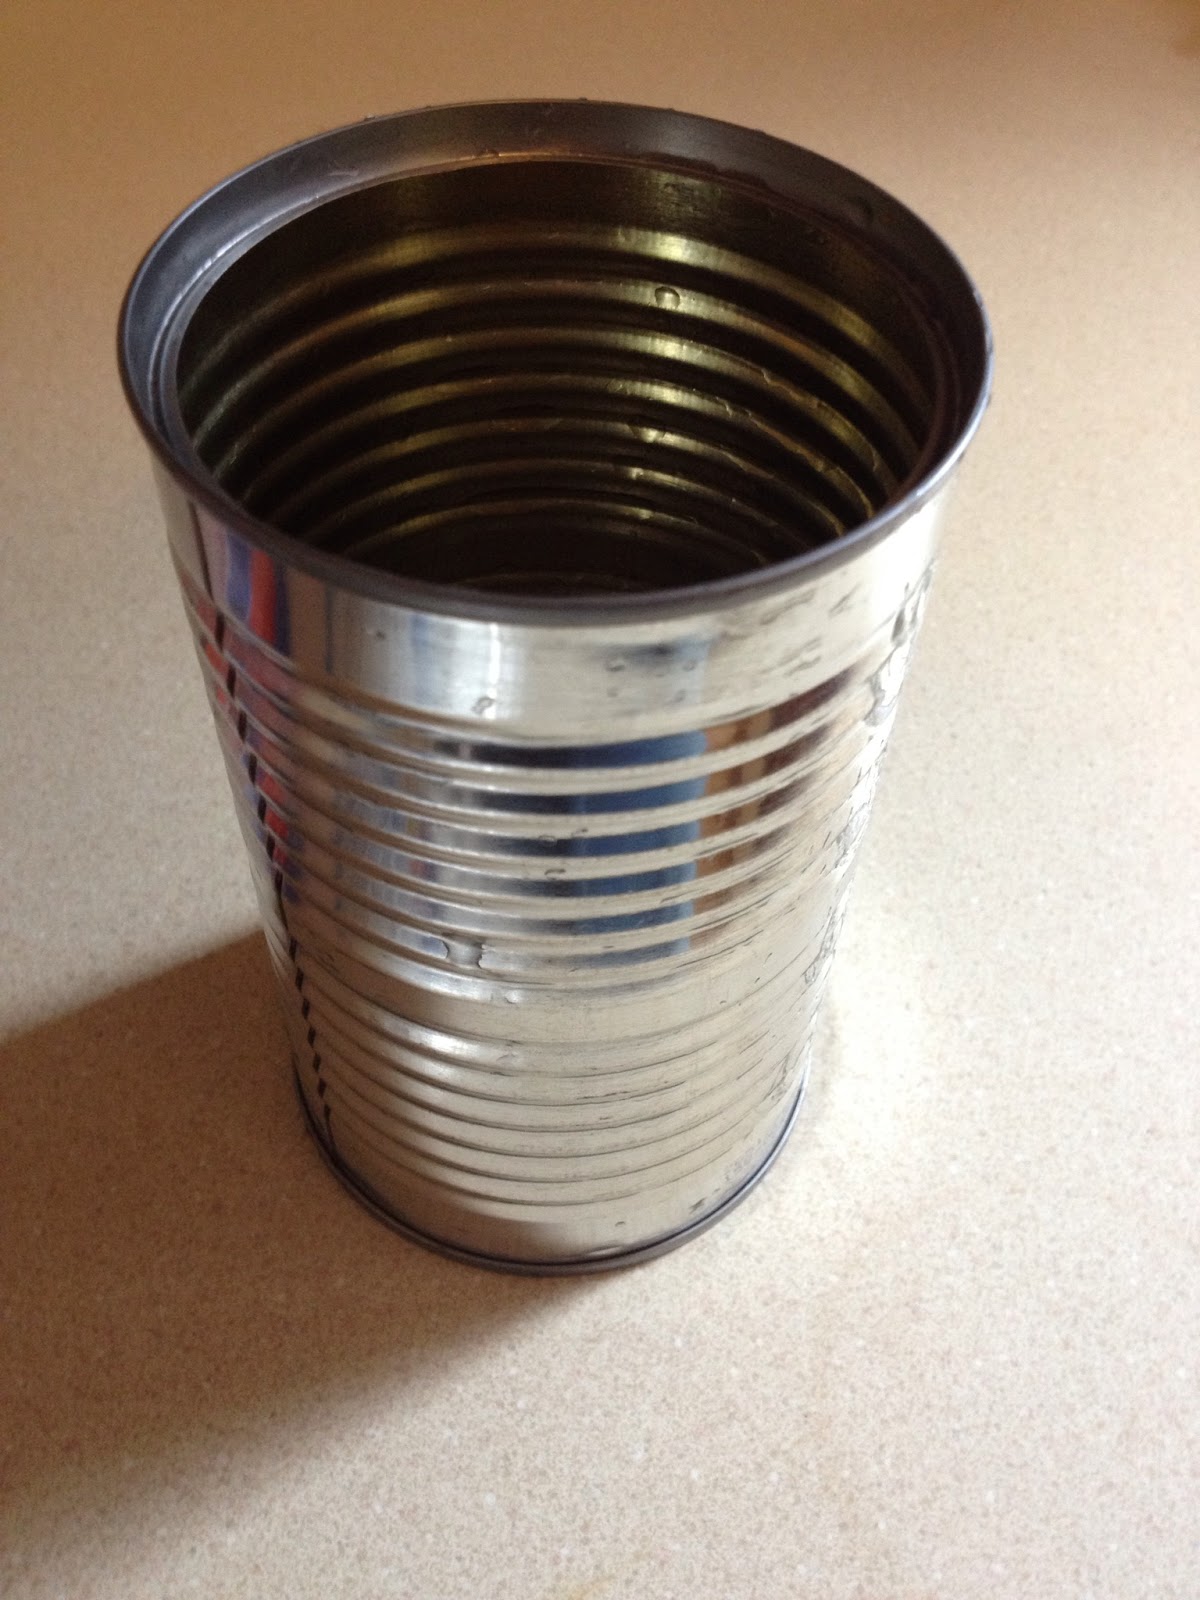
  • Get a wider can:  It was hard to dip the bottles toward the end because the mouth of the tin can was not wide enough to get the caps/necks submerged enough.  But too wide and the wax wouldn't be deep enough.  Again, a balance is needed.
Keep:
  • Pretty much everything else.  The process was fairly easy, fun, and way cool.  Once we figured out how to melt the glue, things went along smoothly and quickly.    If you have bottles you want to keep for a long time or give away as gifts, I highly recommend waxing.  It gives an extra layer of protection from oxygen and it kicks the presentation up a few notches.  

The finished product.  
Hope you learned something.  I learned that waxing bottles isn't as intimidating as I initially thought.  Give it a try!

Cheers.

I wonder how hard this will be to clean off... . . . . . .  .  .  .  .  .   .   .


Comments

  1. I'm curious on how the wax/glue mixture differs from the wax you can buy fairly inexpensively from the home brew supply store.

    We typically wax our mead bottles during bottling and have always used the HBS was in a poor mans double boiler (metal bowl over a pot of boiling water) without issue.

    ReplyDelete
  2. I haven't seen wax at my local home brew store. I also thought about looking in a craft store for the sealing wax people use on fancy letters and press their ring into... but I don't know if that would be too brittle or not.

    ReplyDelete

Post a Comment

Popular posts from this blog

The Research: Part 3

The final post I want to make in the research category is one about the traditional, brick & mortar, local homebrew store.  If you are lucky enough to have a store nearby, this is a great place to visit.  (You can find a nearby store by visiting the Homebrewers Association directory .) In this modern world, full of instant information, huge selection, and Amazon.com pricing, why visit an actual store ?  Several reasons. First, the people.  These people are passionate about brewing and passionate about helping you brew.  They are a great resource for practical questions on ingredients and, in this specific case, equipment.  They probably have used most of what is in their store and can speak to it first hand.  You get much better service than online retailers (which usually provide no customer service  unless something doesn't work the way it should) because there are actual people with whom to talk and ask questions. Hops/Yeast Fridge When Eric and I first made our fo

Fall Beers

So, what is up with all the fall/autumn/pumpkin/fest beers being out already?  It's the middle of August.  It is hot still.  I, personally, don't really want to see those in the shelf til after Labor Day.  Autumn doesn't even start until September 21.  Maybe you've had similar thoughts. I liken it to being able to buy a 2013 car now.  It is like we are living in the future!  But facetiousness aside, if you are releasing a pumpkin beer or a harvest ale on August 1, that means you were brewing it in June.  Where do you buy pumpkin in June?  Surely you aren't getting the freshest pumpkins around...  Expired canned pumpkin anyone?  If you are releasing a fest beer, at least there aren't any special, seasonal ingredients.  But it takes longer to make.  When were you brewing that one?  May?  April?  Earlier? I understand trying to get your product out first so people see it, remember it, and buy it.  But give us a little bit of a break and at least wait until

Equipment Progression

I am an all-grain, fermentation-controlled, kegging homebrewer (with other bells and whistles thrown in there, too).  But I didn't start out that way.  I was thinking about my progression as a homebrewer and wondering if I would change anything about my journey (hindsight is 20/20).  So, I made a list of my progression.  The list below doesn't contain every gadget or step, and some steps include multiple purchases/equipment, but it hits key milestones.  Here is a brief overview of how I have progressed so far as a homebrewer: Extract on the stove top Wort chiller Turkey fryer/Burner for outdoor use Kegerator Pump Fermentation control Yeast starters All-grain (all the equipment at once) Plate Chiller Oxygenation system So, what would I change?  How would I choose to progress now that I am more advanced?  Or, I guess a pertinent question also is, where did I get the most bang for my buck?  What was most worth the money?  Below is my list answering those questions.